Create Time: 01/11/2019
Accuracy is one the central characteristics you expect of a 3D printer, particularly SLA printers, which are renowned for their high degree of precision. If an SLA printer cannot reproduce a model with sufficient accuracy then it has failed its primary task. However, achieving a very high degree of accuracy is not easy, and there are numerous little factors that can all add up to produce a part that is long way off the original model.

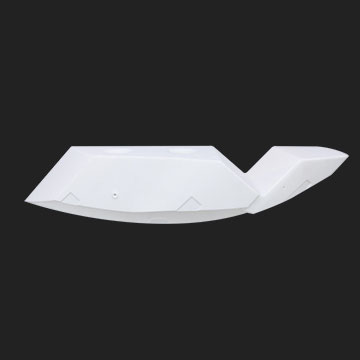
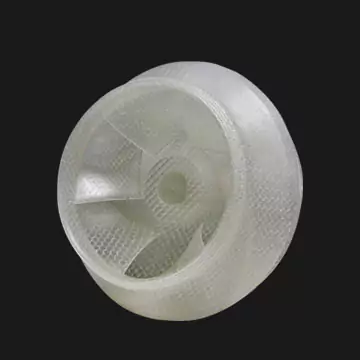
A steering wheel printed by the ProtoFab SLA600
Before we get started, let's quickly clear up exactly what we mean by accuracy, and distinguish it from the related concept of resolution. In 3D printing, accuracy describes how much a part differs from its intended shape. This can be an average of the total discrepancy across the whole part, or the point where the discrepancy was highest. For example, a printed part may be scanned and be found to have an average dimensional deviation (physical discrepancy from the original model) of 0.050 mm, and a maximum deviation of 0.15 mm. This differs from resolution, which describes the level of detail that the printer can theoretically produce based on its specification. High resolution doesn't always translate into high accuracy and the figures can often be misleading. It's not uncommon for high-resolution machines to produce parts that are highly inaccurate. This is why experienced manufacturers value accuracy far more than resolution, especially in industries where detail is crucial. Let's take a closer look at ten of the biggest causes of inaccuracy in SLA 3D printing.
Perhaps the biggest determiner of accuracy is the level of mechanical control a printer has. This refers to the precision of movement of the various mechanisms, including the mirrors, the galvanometerand the build platform. If any of these does not move in perfect correspondence with how the software requires, discrepancies will result. From the perspective of the user there isn't an awful lot that can be done about this, precision of movement comes from the quality of the parts and how well they were assembled. Desktop printers struggle badly in this regard as there isn’t be anything like the quality you get in the high-end industrial printers. Low-cost industrial printers also usually save on costsby using cheaper components. Having low-grade components doesn’t just mean that mechanical control is compromised from the start, but it will also diminish over time as the parts wear.

Any inaccuracies in the components or assembly of a printer are passed on to printed parts
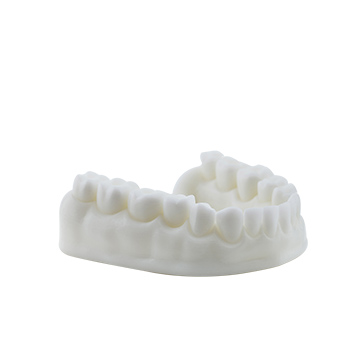
The specific nature of the inaccuracy depends on which part has issues. For example, errors on the zaxis differ in origin from errors on the x-y axis. Errors on the x-y axis are usually due to issues with the scanning mirror (that direct the beam to a specific point on the layer). This part is critical to accuracy andthe slightest errors in movement can cause significant discrepancies. Accuracy on the z axis depends mainly on the movement of the build platform as it descends (or rises in desktop models) layer by layer. Movement of the build platform is controlled by a long screw which has to turn just the right amount to make the platform move by the exact layer height, usually around 0.1 mm. Minute issues in the build quality of this screw will be passed on to the printed part, usually in the form of surface roughness. It's also critical that the build platform remains completely parallel at all times. Any slight tilt will lead to inaccuracies, sometimes in the form of aslanting effect throughout the part.
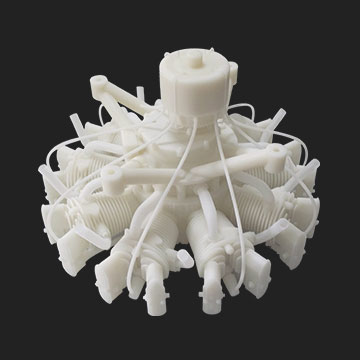
Because SLA uses resin and not molten thermoplastics, the effect of material shrinkage and warping is much less severe than in filament-based printing techniques. However, that doesn't mean SLA isn't without its own deformation issues. Resin-based 3D printing usually suffers from a certain degree of sagging. Although the resin is cured by exposure to the laser, it does not become fully cured in that brief instant. The material will only reach full strength once it is placed in a UV curing oven during post-processing. That's not to say that before post-processing the material is weak or uncured, it's just not up to its maximum load-bearing state. For well-supported areas of the part this is not an issue, but if there are sections that long, thin or lacking in support, some sagging can occur. This sagging is usually microscopic, but because it happens one layer at a time the effect can be cumulative, resulting in noticeable dimensional discrepancies. This effect is affected by the resin used. Some stronger materials will not suffer from this at all, but flexible materials are particularly prone to the issue. This is why support material is so important in SLA, and if the software does not place the supports in the most optimal way accuracy will be seriously compromised.

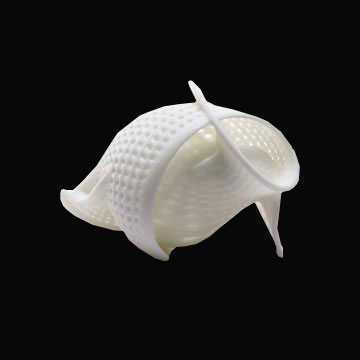
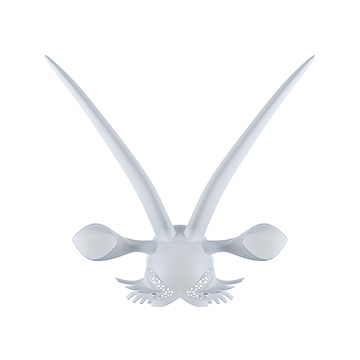
Supports are usually generated at a 45° angle to the part
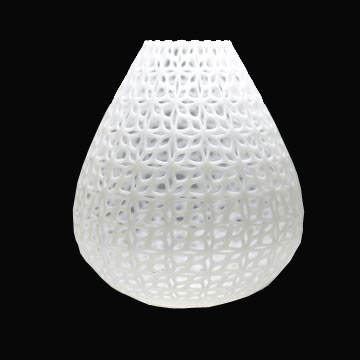
Even if the mechanical control of a printer was perfect and perfect materials were, parts would still not be produced 100% accurately. This is because the practicalities of CAD modeling place some limits on how detailed a part can be. STL modeling uses a finite number of triangles to build up the shape of a part. This method presents few problems when recreating flat surfaces, but any kind of curve is physically impossible to represent perfectly. A very large number of pointed triangles are used to approximate the curve as best as possible, but at the microscopic level it is not smooth at all. The more triangles that are used the better the detail, but this can present issues when it comes to file sizes and processing time. Modern technology and software copes with this issue much better than in the past, in the early days of SLA computing power was a very serious limitation.

The more triangles used in an STL file, the better curved surfaces can be recreated
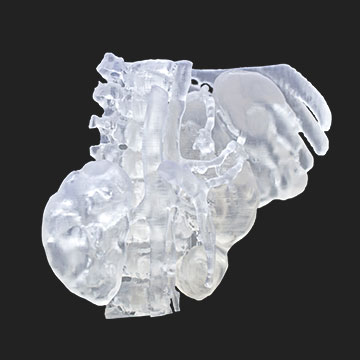
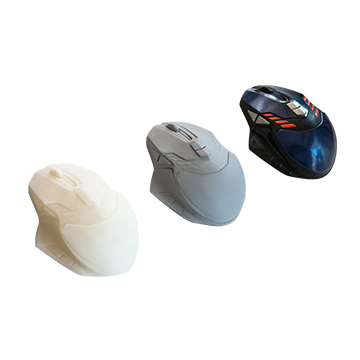
As discussed in this articlecomparing desktop printers to industrial printers, print orientation is very important. In most desktop SLA machines, the part is printed upside down, meaning that most of the part is hanging during the build process. This can be countered to some extent by additional support material, but there will still be some drooping of the material due to gravity. However, it isn't just the direction the part is printed in that is important, the orientation of the part within the build chamber is also a factor to consider. First of all, there is the issue of over-exposure to deal with. This is when light from the laser shines through the current layer and also partially cures some of the resin behind. This effect is significantly worse when transparent or semi-transparent material is used. It's also the case that certain colors absorb UV light better than others, so parts using blue, green or yellow materials will suffer less, and other colors such as red or grey will suffer more. This issue can be addressed to some extent by positioning the part strategically in the build chamber in relation to the laser, so that the beam is not shining through on to other uncured material so often.In addition to light shining through, there is a further issue of light bending around the part as it is printed. This can also cause UV light to reach areas that it shouldn't and lead to over-exposure. Calculating how best to orient a part to minimize this effect is extremely complex, but it is something that cannot be ignored if maximum accuracy is desired.

Orientation affects both printing accuracy and speed
Generally, it is considered that the thinner the layer thickness the better, as thin layers give higher resolution. However, beyond a certain point this isn't necessarily the case.Some studies have shown that for layer sizes lower than 0.1mm, thinner layers can lead to lower accuracy. This is due to a number of factors. For most parts, going below 0.1mm offers no real advantage in terms of detail and simply increases the number of layers. More layers means more mechanical movement, so any discrepancies in motion will be amplified. Thinner layers are also slightly more likely to warp, and the longer build time means it is longer before the part can be fully cured a UV oven. The inaccuracies introduced by these factors are miniscule, but they can explain why using a layer size of 0.05 mm sometimes produces a less accurate part than using 0.1 mm layers. That said, using layer sizes significantly greater than 0.1 mm will certainly lead to a less accurate part and will cause visible staircasing.
As you might expect, the narrower the beam, the greater the level of detail. A wide beam will result in faster print times but at the cost of detail and accuracy. In the past the tradeoff was this simple, but nowadays there are SLA printers (including those offered by ProtoFab) that support more than one beam size during the same build. Two spot sizes can be configured, one small and one large. The larger spot size is used for areas where detail is not critical, so speeding up the process, and the small spot is used for areas such as corners or curved surfaces. This way it is possible to get the best of both worlds, at least to some extent. Without this functionality some accuracy will inevitably be sacrificed. And regardless of whether the equipment supports variable beam sizes or not, it’s extremely important to select the appropriate beam diameter for each build. Judging the optimal beam size based on the requirements of the part requires experience and a thorough understanding of the technology. Getting this parameter wrong will undoubtedly lead to a loss of accuracy.

In image A radius compensation is not used, while in image B it is
In industrial 3D printing, keeping a controlled environment is of the upmost importance. As mentioned above, warping and drooping is an issue in SLA printing and this is exacerbated by heat and humidity. Any fluctuation in these during the printing process will affect how the part comes out. Resin is extremely temperature sensitive, and for the purposes of 3D printing it's important that the viscosity is as low as possible. The higher the temperature the less viscous the resin, so for this reason it's important to keep the resin warm (and at a constant temperature). However, it cannot be too warm or this will cause the part to be too soft and unstable. The sweet spot is generally around 38 degrees, and any divergence from this will affect the shape of the part. Also, it is essential that the surface of the resin remains completely flat at all times. If there are any vibrations or even the slightest movement of the equipment accuracy will be severely affected.

The surface of the resin must remain completely flat at all times
Scanning pitch refers to the distance between the center of each laser spot. The beam does not move in a constant motion, rather it shines at specific points along a course at specific intervals. There is usually a degree of overlap between each of these spots, otherwise there would be large gaps between each cured area. The scanning pitch determines the degree of overlap, and this has a profound effect on both accuracy and speed. If the scanning pitch is small then there will be less uncured resin along the edges and the surfaces will be much smoother. This will of course result in longer print times as each scan will take longer. On the other hand, having a wide scanning pitch will be fast but will result in rough edges that require a lot of sanding down.

Changing the scanning pitch will affect accuracy, strength and build efficiency
Scanning speed is another of the core parameters that has an effect on accuracy. As you might expert, faster scanning speeds lead to lower accuracy but fasting printing times. However, the effect on accuracy usually only becomes severe when very fast scanning speeds are used. It also isn’t necessarily the case the slower scanning speeds always leads to better accuracy. When the scanning speed is set too slow overcuring can occur, as the beam lingers for too long at each point. A mix of experience and complex calculation is needed to set the appropriate scanning speed for each build.

Post-processing often requires a lot of expereience and skill
After parts are printed there are a number of necessary post-processing procedures, including washing with alcohol, removing support material and sanding. These tasks are usually performed manually and so introduce the potential for human error. Due to the nature of SLA printing, freshly printed parts will usually have a degree of ridging along the edges (see points 6 and 8). Therefore, it is necessary to sand and polish SLA printed parts and sometimes the level of sanding is quite rough. In an industry were discrepancies are measured in microns, humans scraping the part with coarse sandpaper inevitably brings some degree of unpredictability and a loss of accuracy. The exact force used is hard to standardize, as is the length of time. Calipers are used to measure the area that is to be sanded down, but it is still a fairly inexact process, certainly when compared to the highly controlled motionsof the printer itself.

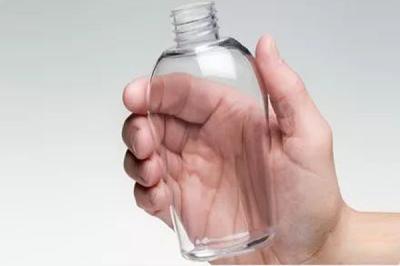
It's best to use skilled personnel for pash washing
Another aspect of post-processing that can have an effect on accuracy is the removing of the support material. This needs to be snapped or prised off manually using tools and there are usually marks left behind. These can be sanded down, but as discussed above, this in itself compromises accuracy.It's best to use skilled personnel for this stage as it is easy to scratch or damage the part with the sharp tools or leave behind marks that are larger than necessary.To reduce these risks, ideally the very minimum of support material should be used while still ensuring the part is stable.


 中文
中文 English
 日本語
日本語 한국어
한국어 Français
 Deutsch
 Italiano
 Pусский
 Português
 Türkçe
 हिंदी
हिंदी Norsk
Norsk