Create Time: 01/27/2019
3D printing is a lot more than just pressing print on a machine, it's a multistage process that starts with a 3D model on a computer and ends with a sleek part with perfect dimensions. This guide will walk you through each of the steps that goes into producing an industrial-quality 3D printed part. The process isn't as complex as some people imagine and can be summarized in roughly 15 stages. Let's take a quick look at each of them in turn.
Before any printing can take place a detailed 3D model is required. This is similar to traditional techniques such as CNC machining, but there are key differences in how the files are prepared and the type of analysis required. The file is imported into 3D modeling software and after a period of analysis a meeting will take place to discuss optimizations. These changes are usually very small and are aimed at making the model easier to print. Sometimes printing a fully solid part is undesirable due to weight and material waste, so in such cases the technician will add drainage holes to the 3D model which will allow uncured resin to flow out, giving a part which is lightweight and hollow.

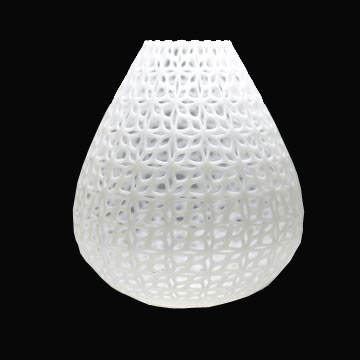
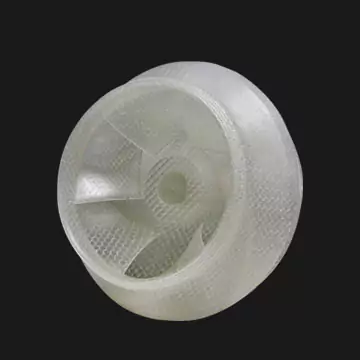
Render of the fished design
The orientation of the part in the build chamber is very important and determines the amount and position of the support structures, so this needs to be decided early on. Usually the part will be positioned so that the supports will mostly be on the less visible side, for example the rear or the bottom. It's often best to angle the part at around 45 degrees as this makes it easier to hold up with support material. More vertical parts will be less stable and therefore require more support material.

Processing the part
The calculations that go into determining exactly where to place the supports are extremely complex and are best performed by the software. The software-generated supports are usually not bad and will get the job done, although it's best that skilled technicians perform some tweaking based on their experience.

Software generated supports
Compared to other technologies such as CNC machining, SLA 3D printers require very little in the way of preparation. The build platform is fitted and the tank is filled up with resin. Often the surface of the newly filled resin will contain foam or bubbles, so this needs to be scraped off. After this the machine's recoater blade slowly passes over the resin to make sure it is complete level.

Skimming off the surface bubbles
While this is taking place the processed 3D model complete with supports is saved as an SLC format file and transferred to the machine via USB stick. Once loaded onto the machine it is checked closely by the print team and the final print orientation is set.

The file is transferred to the machine using a USB stick
Once everything is prepared it's time to hit print and for production to begin. We've covered the technical details of how SLA printing works in other articles, so you if you are interested in the mechanics of how the resin is cured layer by layer you can read about it here. The process is autonomous and there is no need for any personnel to monitor it closely or provide any input during printing. Printing time is determined by a large number of factors including part size, part complexity, materials used, orientation, layer size and many others. Industrial builds often take longer than 24 hours but are generally quicker than the equivalent CNC production process. Once the printing is finished the build platform automatically rises back up to its original position and the finished part emerges from the resin.

The laser on the surface of the resin
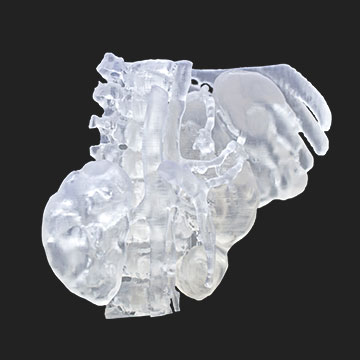
When the part is being printed it isn't in direct contact with the build platform, as that would affect the finish. Instead, support material is printed directly onto the latticed grill of the build platform and then the part itself is printed on these supports. The build platform is a grill so that liquid resin is able to flow through it. Once the part is finished the part has to be removed from the build platform which requires the use of a scraper and a little bit of force. Damaging the base isn't a problem though as this material is about to be removed anyway.

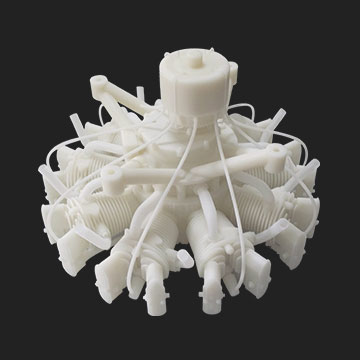
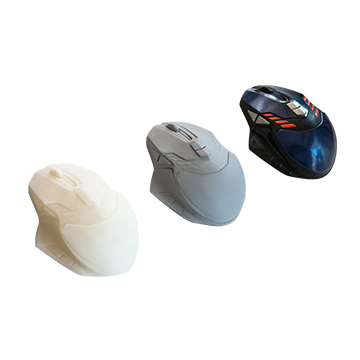
The finished part still stuck to the printing platform
Once removed the part is carried to the alcohol baths. These are kept in a separate room under controlled conditions, and the handler must wear full-body protection. The purpose of washing with alcohol is to remove any residual uncured resin on the surface of the part and also to make the support material easier to remove. There are three alcohol baths and the part passes through each in turn. In the first bath it is simply submerged in the alcohol and washed gently. In the second bath the support material is broken off by hand and some brushing takes place to further remove any residue that might still be present. In the third bath the brushing is a little more vigorous. Once the washing is complete the part is thoroughly blasted with air.

Brushing with alcohol
The dried-off part is then placed on a bench and personnel remove the most stubborn of the support material. This requires sharp tools and a bit of skill and patience. The goal is to leave a smooth surface without damaging the part. Once the last of it has been scraped off it's time for the first round of sanding. This is primarily to smooth out any roughness caused during the removal of the support material and to prepare the part for post-curing.

Clearing out the drainage holes
We have a dedicated article on post-curing which explains in detail why this stage is necessary and how it works. Put simply, freshly printed SLA parts have not yet achieved the maximum level of polymerization and need an additional period of curing. For some materials this isn't completely necessary, but most materials are significantly improved by giving them a short period of time in a UV oven. It's important that the part receive an even cure so the oven is fitted with a turntable and UV bulbs surround the part.

In the curing oven
In industrial 3D printing accuracy is crucial, so it's important to do due diligence when it comes to quality control. Specifically, it's necessary to confirm that the dimensions of the printed part are within the required tolerances compared to the original 3D model. To get the most accurate measurements possible we make use of a remote-controlled robotic arm. We also use a microscopic camera to take images of the part surface and check these for roughness or unevenness.

Filing in the drainage holes
It's now time for another round of sanding to take place, and if any particularly rough areas were identified by the microscopic camera the sander can focus on those. The primary purpose of this round of sanding is to prepare the part for painting.
Painting takes place in several stages. First of all, an undercoat is sprayed onto the freshly sanded part. Once the paint has dried there is another round of intense sanding which ensures the surface is as smooth as possible prior to the main coat being applied. Depending on the part and the finish required there may be several rounds of painting and sanding like this until the desired effect is achieved.

Sanding down the undercoat
Painting is one of the most skill intensive parts of the entire process, and this is particularly the case when multiple colors are required. It is essential that the paint is applied evenly and it's very easy to apply the paint more thickly to some areas than others, so this stage is best performed by experienced personnel. It's also important to avoid bubbles or dust, and so painting always takes place under laboratory conditions. In the case of multicolored parts, masking tape has to be applied as the different colors are sprayed on in turn. As you might imagine, this is extremely detailed and fiddly work and achieving a perfect contrast is not easy.

Spraying on the top coat
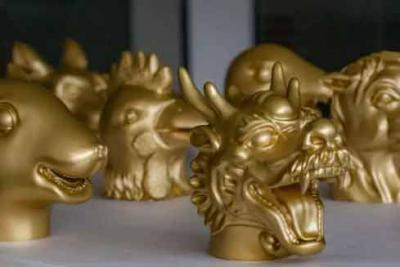
Once the top coat is applied, the surface is polished to an attractive shine. Effective polishing takes more time and skill than you might think, but when performed properly the results are stunning.

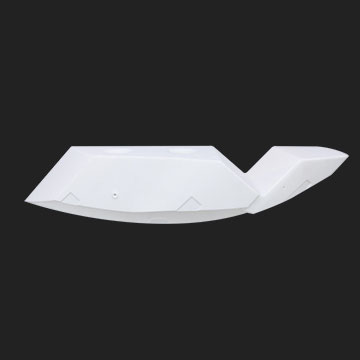
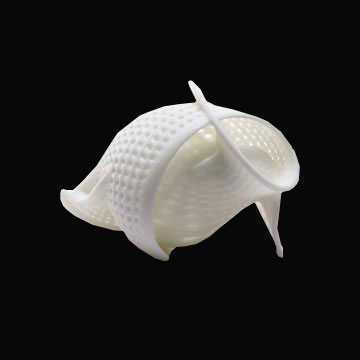
The finished article
The entire process from beginning to end usually only takes between 2 to 3 days, which is much quicker than traditional alternatives. If you'd like to learn more about how SLA 3D printing can work for you we'd be delighted to hear from you!


 中文
中文 English
 日本語
日本語 한국어
한국어 Français
 Deutsch
 Italiano
 Pусский
 Português
 Türkçe
 हिंदी
हिंदी Norsk
Norsk